Squeaky Floor Repair Timing Tips
Warm weather allows for easier access and reduces the risk of moisture-related issues during repairs.
Moderate temperatures and lower humidity levels provide optimal conditions for fixing squeaky floors effectively.
Indoor repairs are preferable in winter to avoid exposure to harsh weather, though heating may be necessary.

Ways to make Squeaky Floor Repairs work in tight or awkward layouts.

Popular materials for Squeaky Floor Repairs and why they hold up over time.
Simple add-ons that improve Squeaky Floor Repairs without blowing the budget.
High-end options that actually feel worth it for Squeaky Floor Repairs.

Finishes and colors that play nicely with Squeaky Floor Repairs.
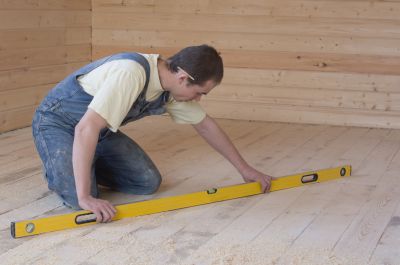
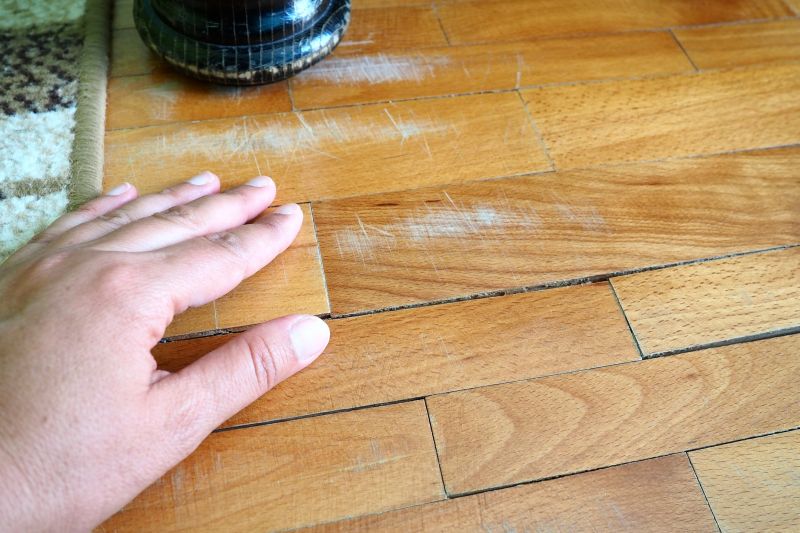
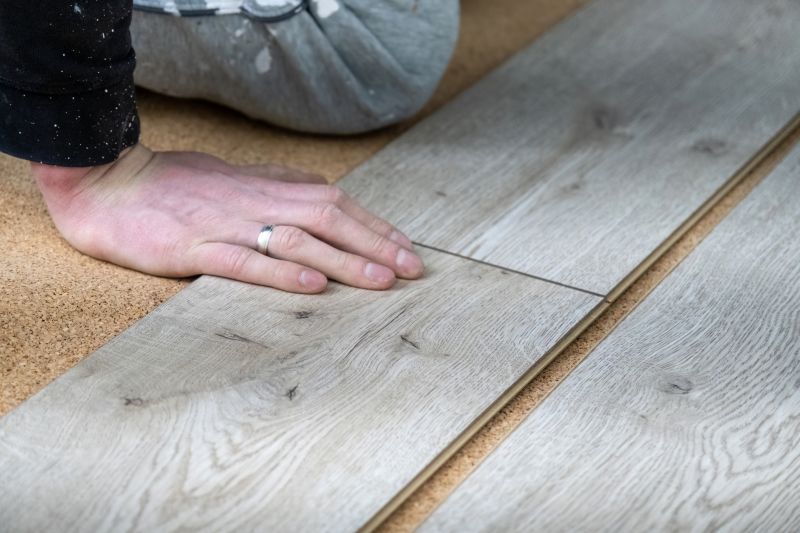
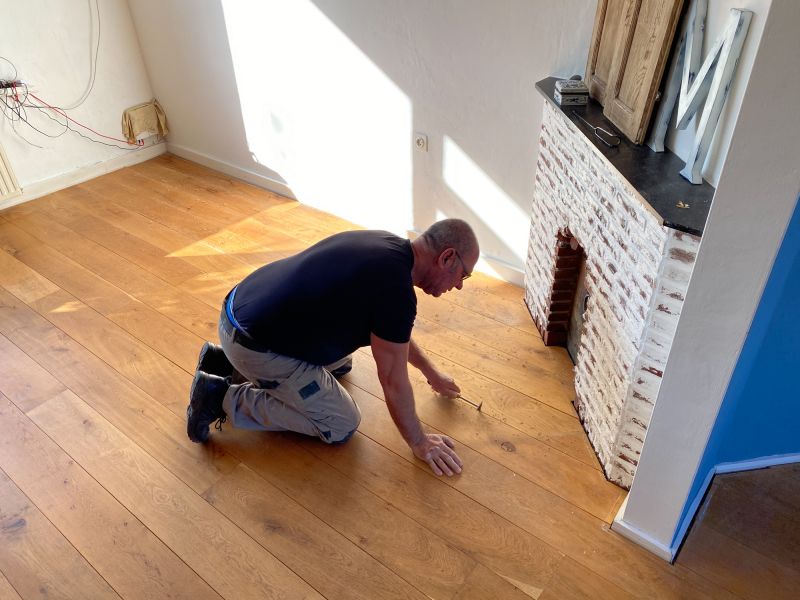
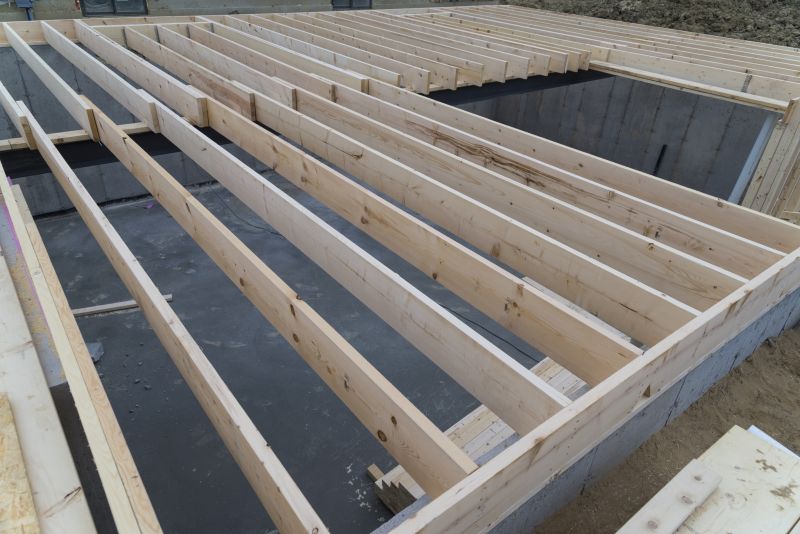
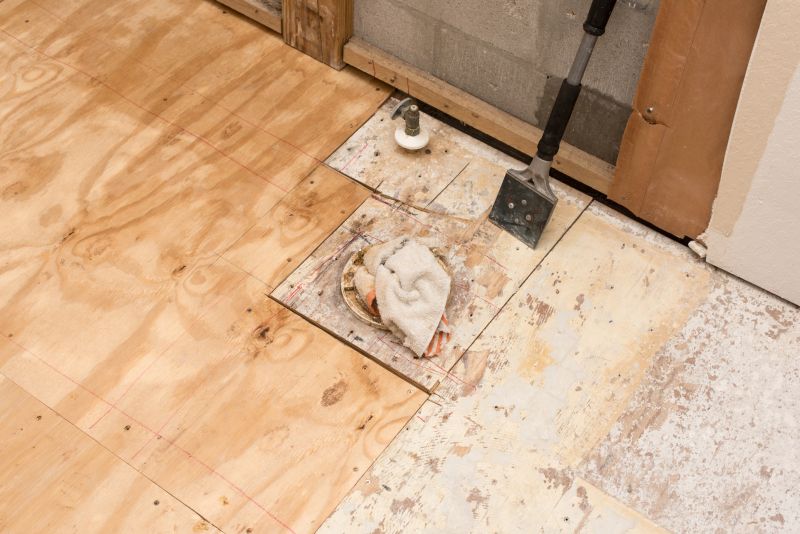
Squeaky floor repairs involve identifying the source of noise and addressing underlying issues such as loose floorboards, subfloor movement, or structural shifts. The process typically includes tightening nails, applying adhesive, or replacing damaged sections. Proper timing ensures optimal conditions for repair effectiveness and longevity.
Choosing the right season can influence the success of squeaky floor repairs. Dry, stable conditions help prevent future issues caused by moisture or temperature fluctuations.
High humidity can cause wood to expand, making repairs more challenging. Low humidity environments are ideal for effective fixes.
Scheduling during periods of consistent indoor climate minimizes the risk of re-squeaking caused by seasonal changes.
Spring and early summer often provide the best conditions for repairs due to moderate weather and stable indoor environments.
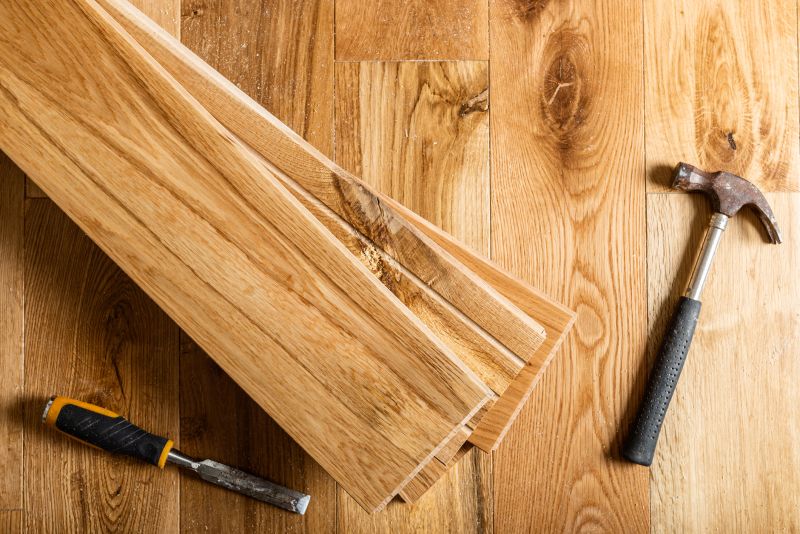
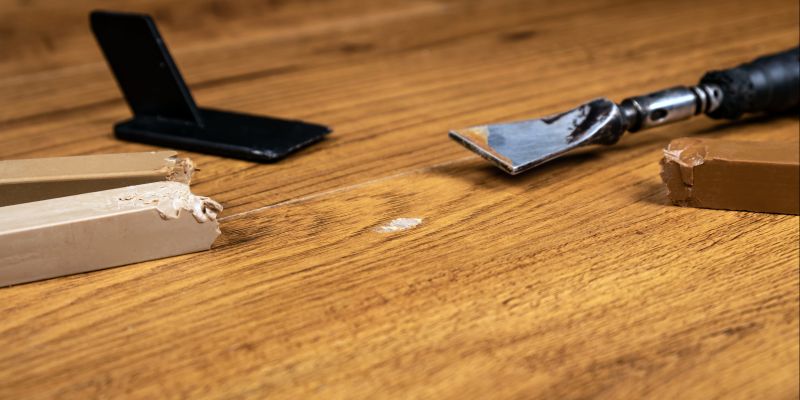
Tools used include nail pullers, adhesives, and floor braces to secure loose boards effectively.
The process involves inspecting the floor, tightening or replacing fasteners, and applying soundproofing materials where necessary.
Proper timing and technique can significantly reduce squeaks and restore floor stability.
Maintaining a stable indoor climate during repairs improves adhesion and reduces future squeaking.
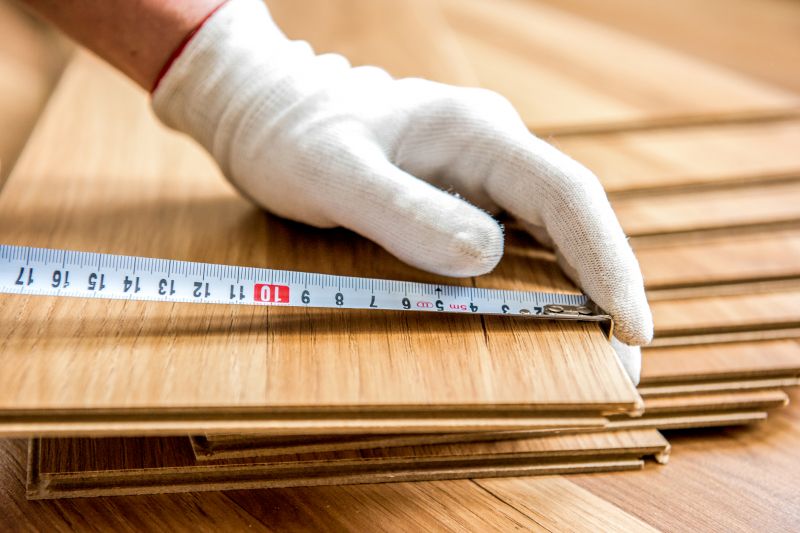
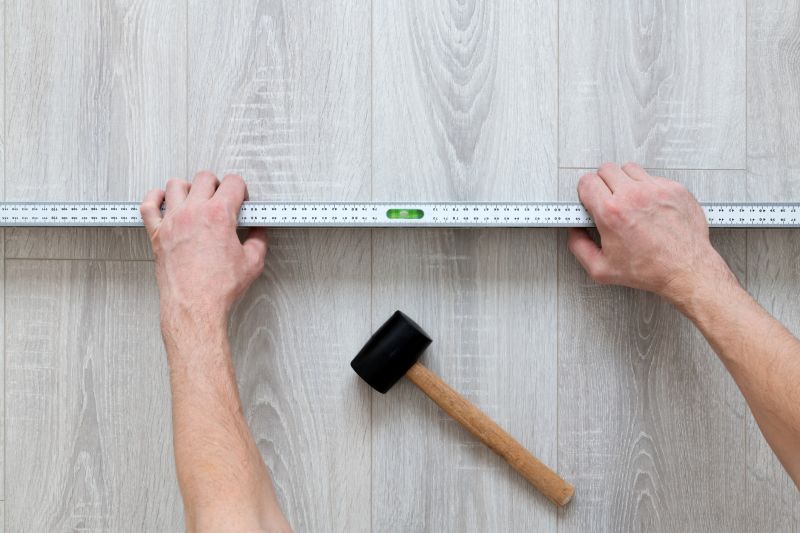
Little measurements that prevent headaches on Squeaky Floor Repairs day.
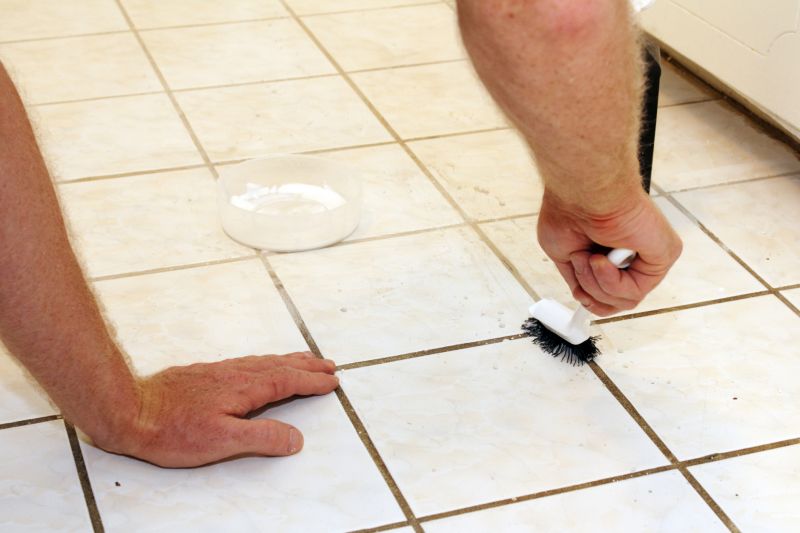
A 60-second routine that keeps Squeaky Floor Repairs looking new.
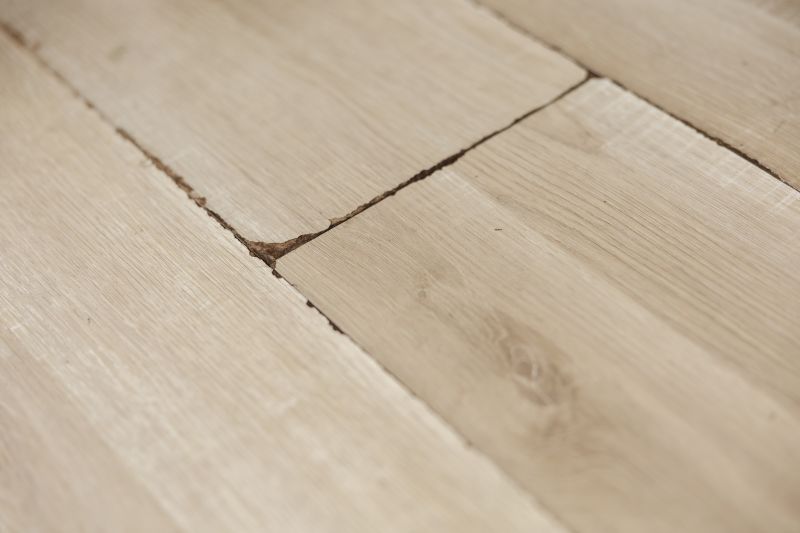
A frequent mistake in Squeaky Floor Repairs and how to dodge it.
Small tweaks to make Squeaky Floor Repairs safer and easier to use.
| Season | Best Practices |
|---|---|
| Spring | Moderate temperatures and humidity; ideal for repairs. |
| Summer | Warm weather facilitates access; ensure proper ventilation. |
| Fall | Stable conditions; good for scheduling repairs. |
| Winter | Indoor repairs recommended; avoid extreme cold. |
| Avoid | Peak winter cold and summer heat for optimal results. |
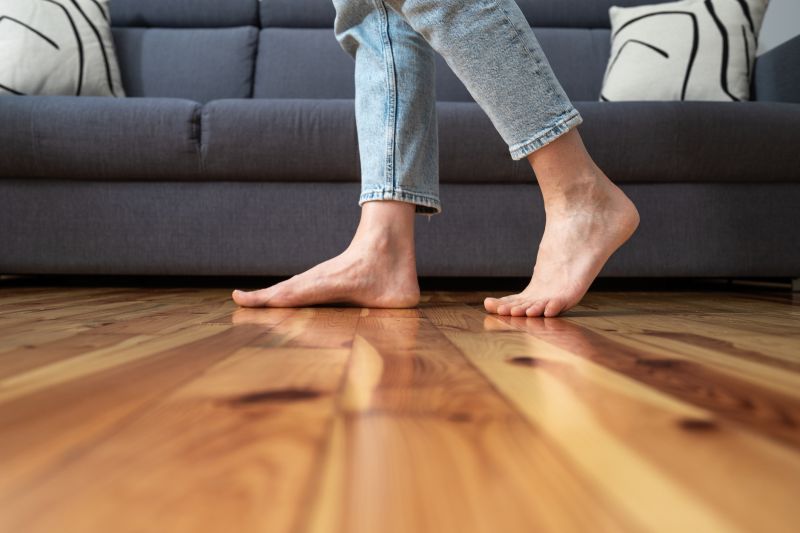
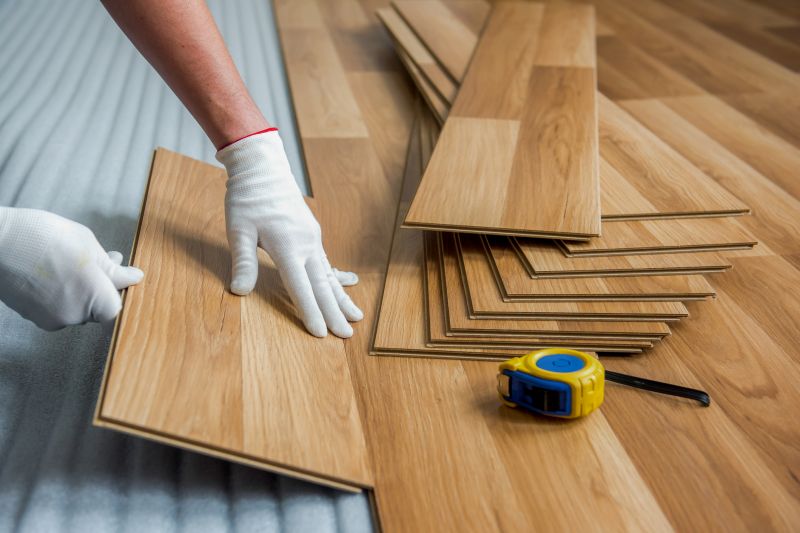
Effective squeaky floor repairs depend on proper timing and environmental conditions. Selecting the appropriate season ensures materials adhere properly and reduces the likelihood of recurring noise issues. Regular maintenance and timely repairs can prolong the lifespan of flooring and maintain structural integrity.
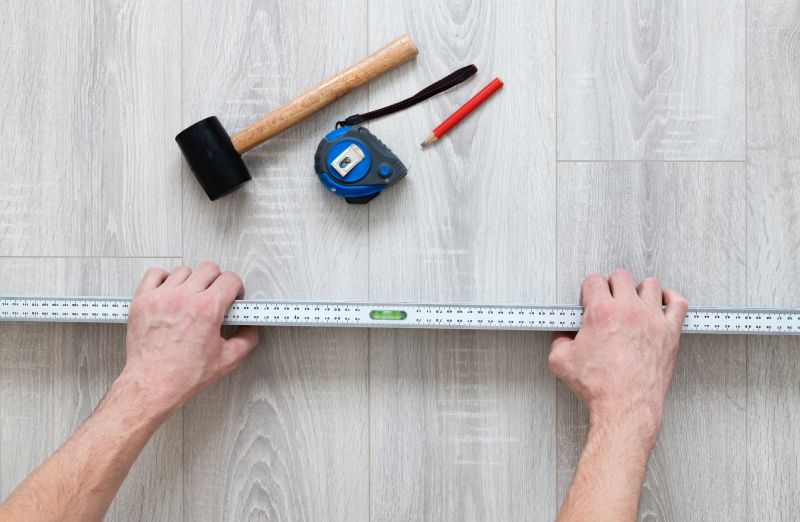
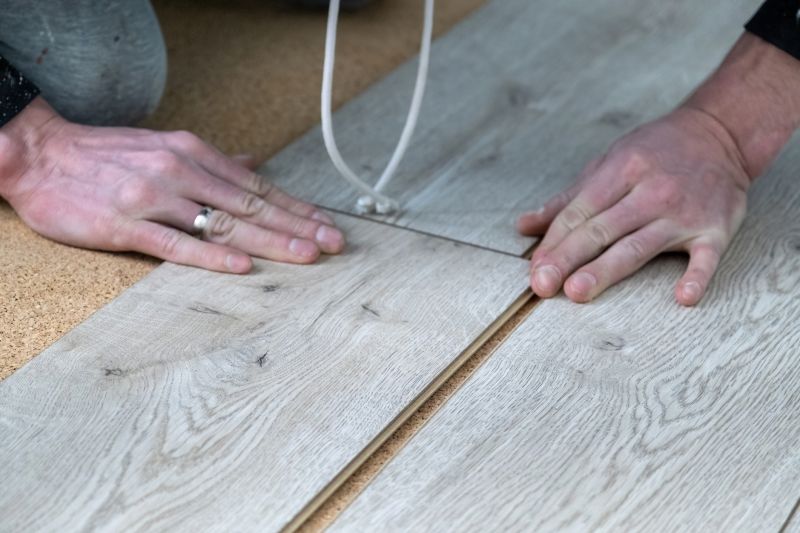
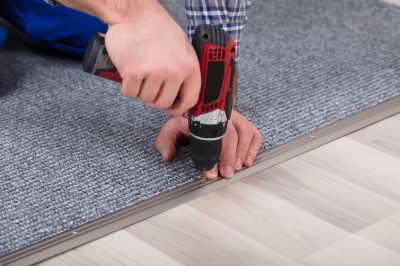
Includes pneumatic nailers, adhesives, and shims for precise fixes.
Techniques vary based on the cause of squeaking, with seasonal timing influencing effectiveness.
Timely inspection helps identify issues before they worsen, especially in changing seasons.
Maintaining consistent indoor conditions supports successful repairs.
The short, realistic tool list for quality Squeaky Floor Repairs.
Rough timing from prep to clean-up for Squeaky Floor Repairs.
Quick checks and paperwork to keep after Squeaky Floor Repairs.
Examples that show the impact a good Squeaky Floor Repairs can make.
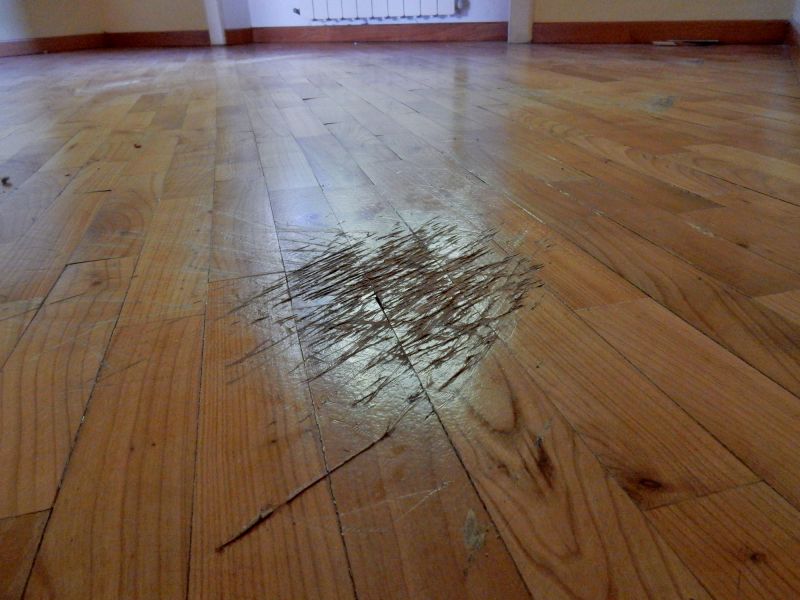
Timely repairs contribute to the longevity of flooring and can prevent costly replacements. Understanding seasonal impacts and preparing accordingly ensures that squeaky floor fixes are durable and effective.
Fill out the contact form to inquire about scheduling repairs during the optimal season for your flooring.